Animation Tips - Part 1
Greetings and welcome to our Friday blog.
This week is the first of two parts looking at animation tips. These won't instantly make you an amazing animator (I'm not sure I'd put myself in that bracket), but are useful things I've found in my own work over the years so thought it'd be nice to share.
Pose to Pose or Straight Ahead?
When I was learning about animation there were two prime methods to approach animating, one is Pose to Pose the other is Straight Ahead.
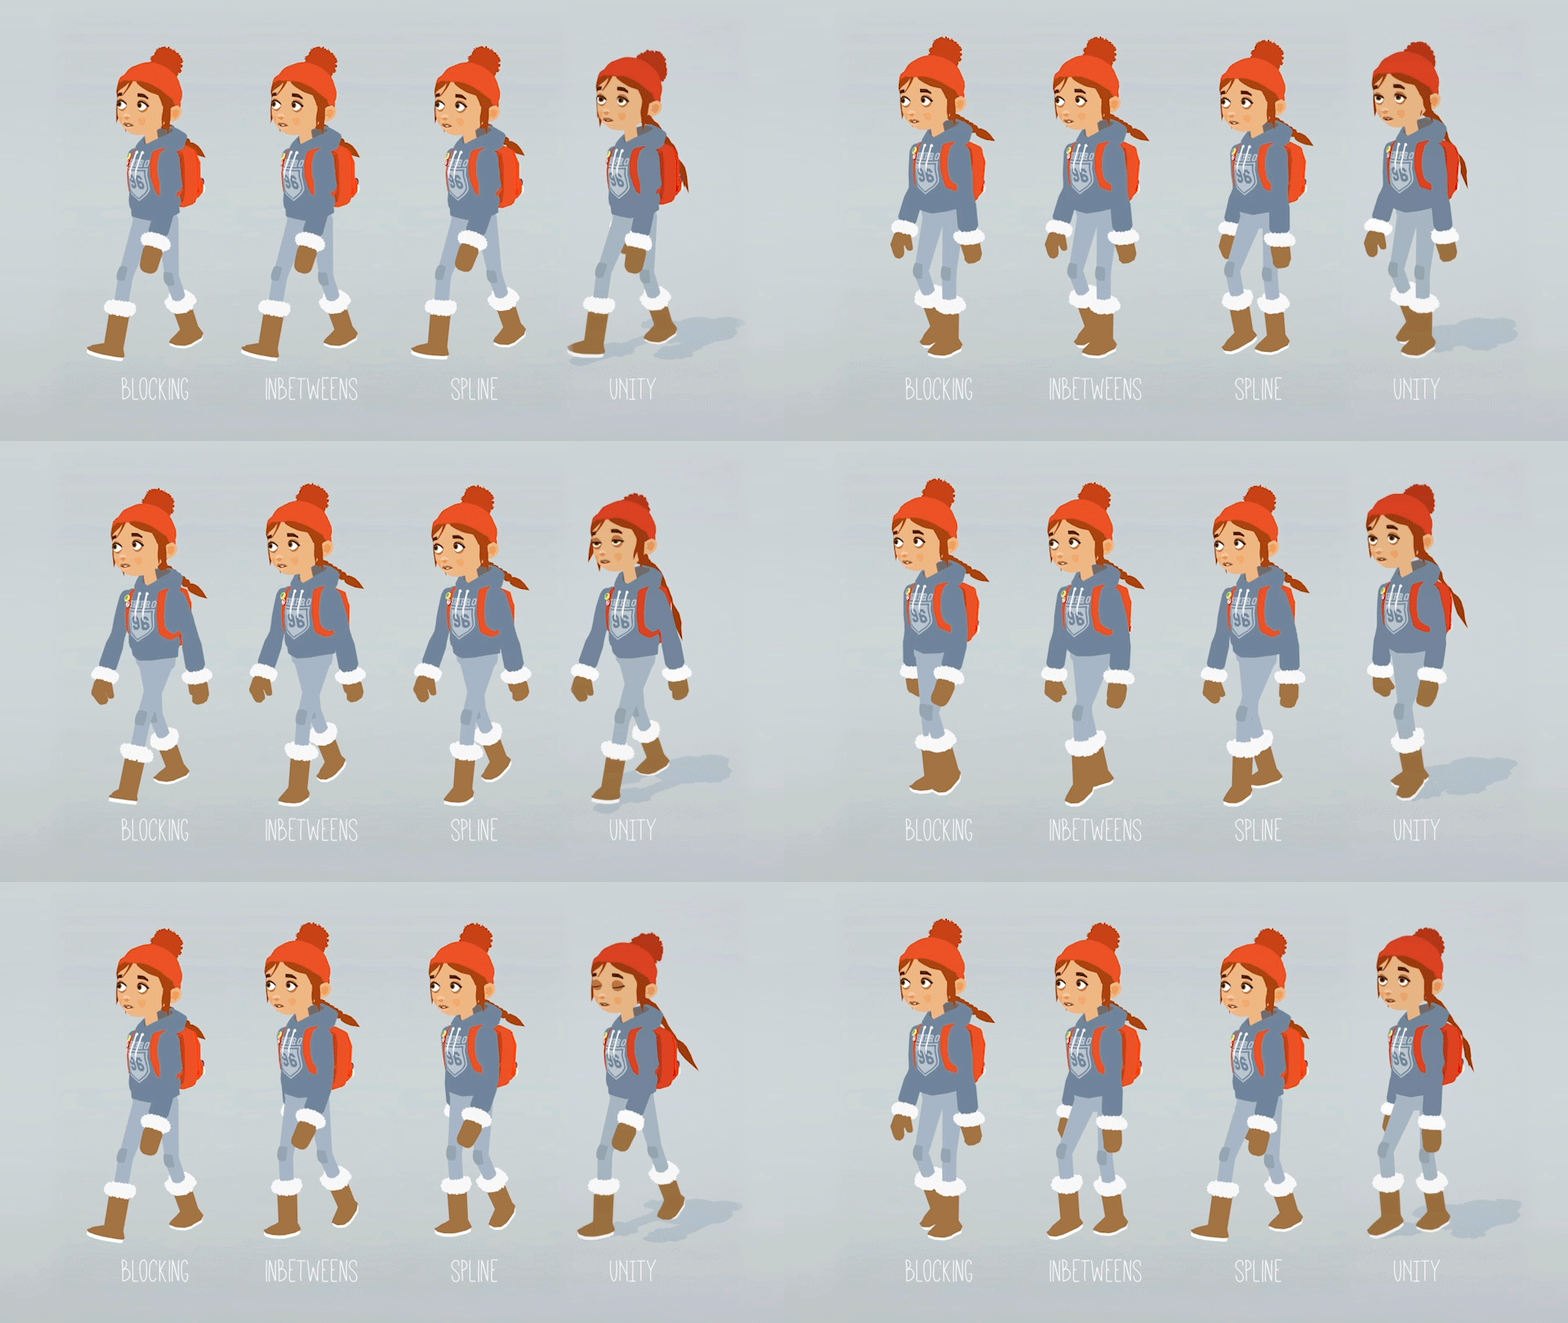
With 'Pose to Pose' you block out your key poses, make sure your timings are right, add in in-between poses and working up the animation iteratively as a whole. With Straight Ahead you basically start animating at the start and then finish animating when you get to the end!
I found this a bit confusing, I was never quite sure why anyone would use the Straight Ahead when animating in CG. I guess this technique is mostly used for hand drawn & stop motion animation (I imagine it is a necessity for stop-motion work) rather than CG but I've not come across any 3D animators who really uses this much. You can see in the video below that it's mainly referring to hand animation.
When in doubt, plumb for Pose to Pose, I always do.
Arcs
On living creatures things don't move in perfectly stright lines, therefore you avoid using straight lines in your animation or it will appear robotic and mechanical.
When animating FK this is usually easy to avoid but with IK it can be trickier, as essentially you are animating from the end point as the driver rather than the source pivot (like posing an arm by pulling it about by the hand (the end point), rather than the rotating it from source, the shoulder).
If something is looking off and unnatural and you can't put your finger on why, check your arcs. You can get tools and plugins in your 3D software to help you visualize this, just give it a Google (although other search engines are available!).
Blink Look
This is a good one, and add a touch of realism and will make your eye animation feel more natural. Generally, when you shift your gaze to a look at a different spot, you will blink before/whilst shifting your focus. If you look at our early facial animation test for Tove you can see this in action. From a visual point of view it's nice and punctuates the move.
Eye Lead
Whilst we're looking at eyes here another good 'looking at stuff' tip...when you look at something your eyes will dart to it first before your head starts moving, then your head will follow. The eyes essentially lead the head, pre-empting it's movement. Don't take my word for it, act it out for yourself, look at stuff, examine your own motion and see what moves first.
Offset Stuff
If you have two elements on a character that share similar animation (arms or feet for example) and they 'arrive' or reach a pose or rest point at exactly the same time it will look a bit fake.
To make it feel more natural, offset their arrival so they are slightly (not by much) staggered. If you're wondering which element to arrive first act it out and see what feels natural. Using small offsets in this way will break up the motion or a character and make it feel more layered and natural.
You can also use this in increments along joint chains, to make arms feel floppy for example, or even on non 'character' elements like undulating fur or foliage. Take a look at the examples below, see how the fur undulates and feels alive? That's because it heavily utilises offset animation!
Below we can see another example of how offset animation can produce a natural effect outside of animating characters. See how the foliage by the lake blows and ripple in the wind? Looks pretty neat right, it's our old friend offset animation again!
Right that's it for this week, I hope you found that interesting. We'll be back next week with the next set of Animation Tips and maybe make this an ongoing series if people like it!
Until next time,
Alex & Tom


